I’d wanted to build one of those 3D printed LED name signs for ages, but every tutorial seemed to assume you already knew CAD. After a few crashes, two abandoned attempts and a lot of swearing at Fusion 360, I finally built one using Fusion 360, WLED and a Bambu P2S.
Finding a tutorial
A while ago I stumbled across a video, about creating a 3D printed LED sign, on YouTube by a creator called Lukis3D.
The tutorial used Autodesk Fusion. I’d installed it before, opened it once, decided it was far too intimidating and promptly closed it again.
I had been playing around with Shapr3D on MacOS as it felt a little more entry-level and easier to understand.
I showed the video to my son and said it would be a cool light for his room, so he decided on using his handle on Roblox as the sign.
I followed the tutorial and managed to recreate the design in Shapr3D without too much trouble, until it came to exporting it to a 3MF file, so that I could 3D print it. I was using the “lite” version which will only allow you to export in low resolution, the paid version was £189.99 for a years subscription. So, I rage quit the app and deleted it off my Mac 😖
Learning Fusion 360
So, I re-visited the video tutorial a few days later and attempted to follow along in Fusion. It’s a fantastic tutorial, but there are a lot of steps to work through, the first attempt I forgot to save, assuming the app would auto-save my progress, it did not, crashed and I lost about 2 hours work 🤬
It was getting late, so I closed everything down and came back for another attempt the next day.
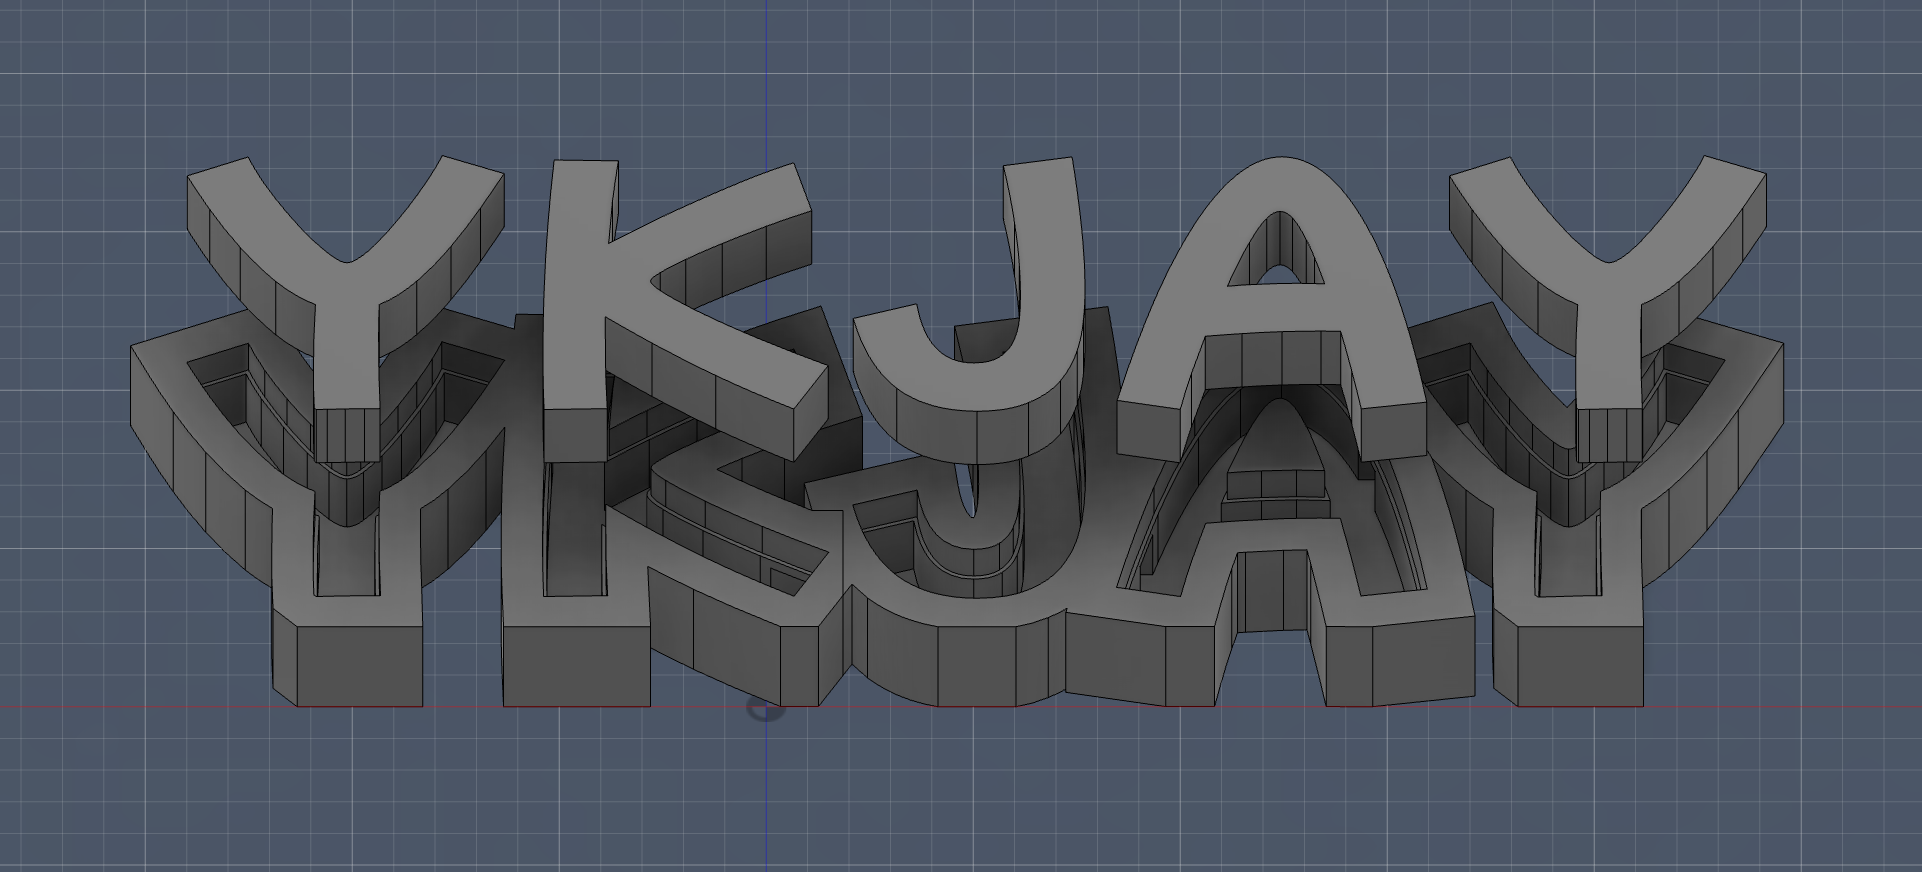
This time, I was saving after each step, learnt my lesson there. Finally, after a few hours, I had something that was ready to export and 3D print.
First print
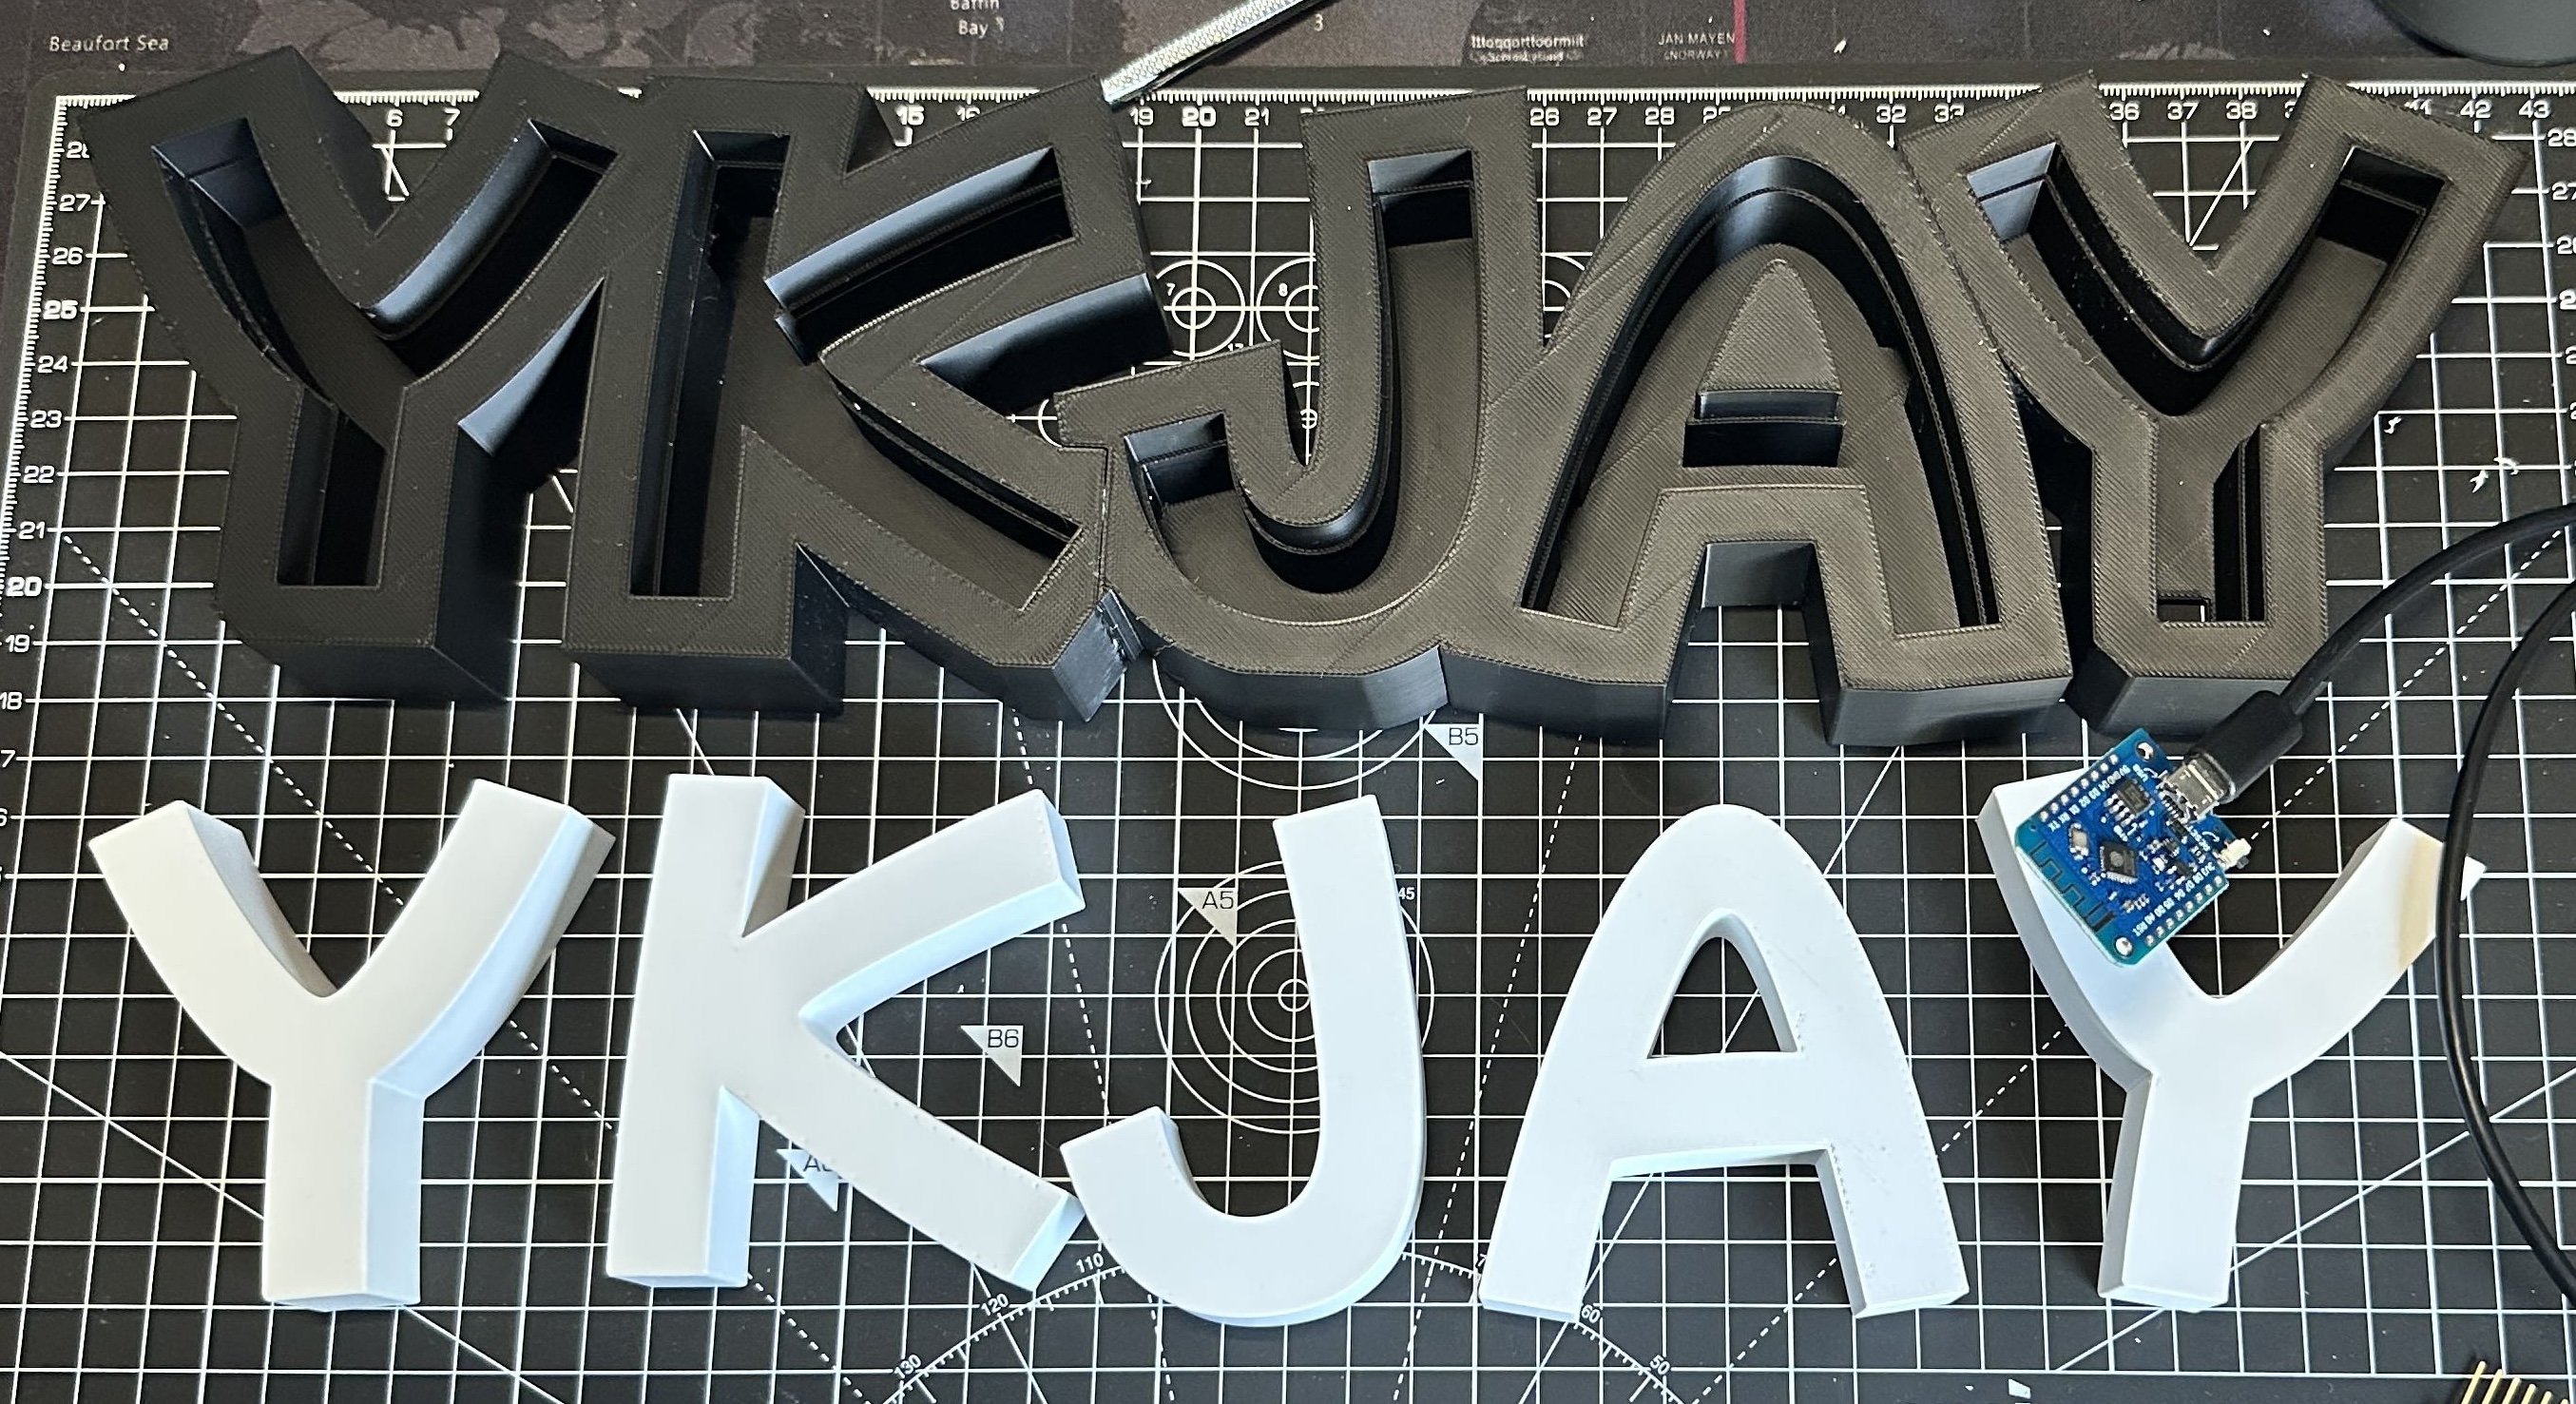
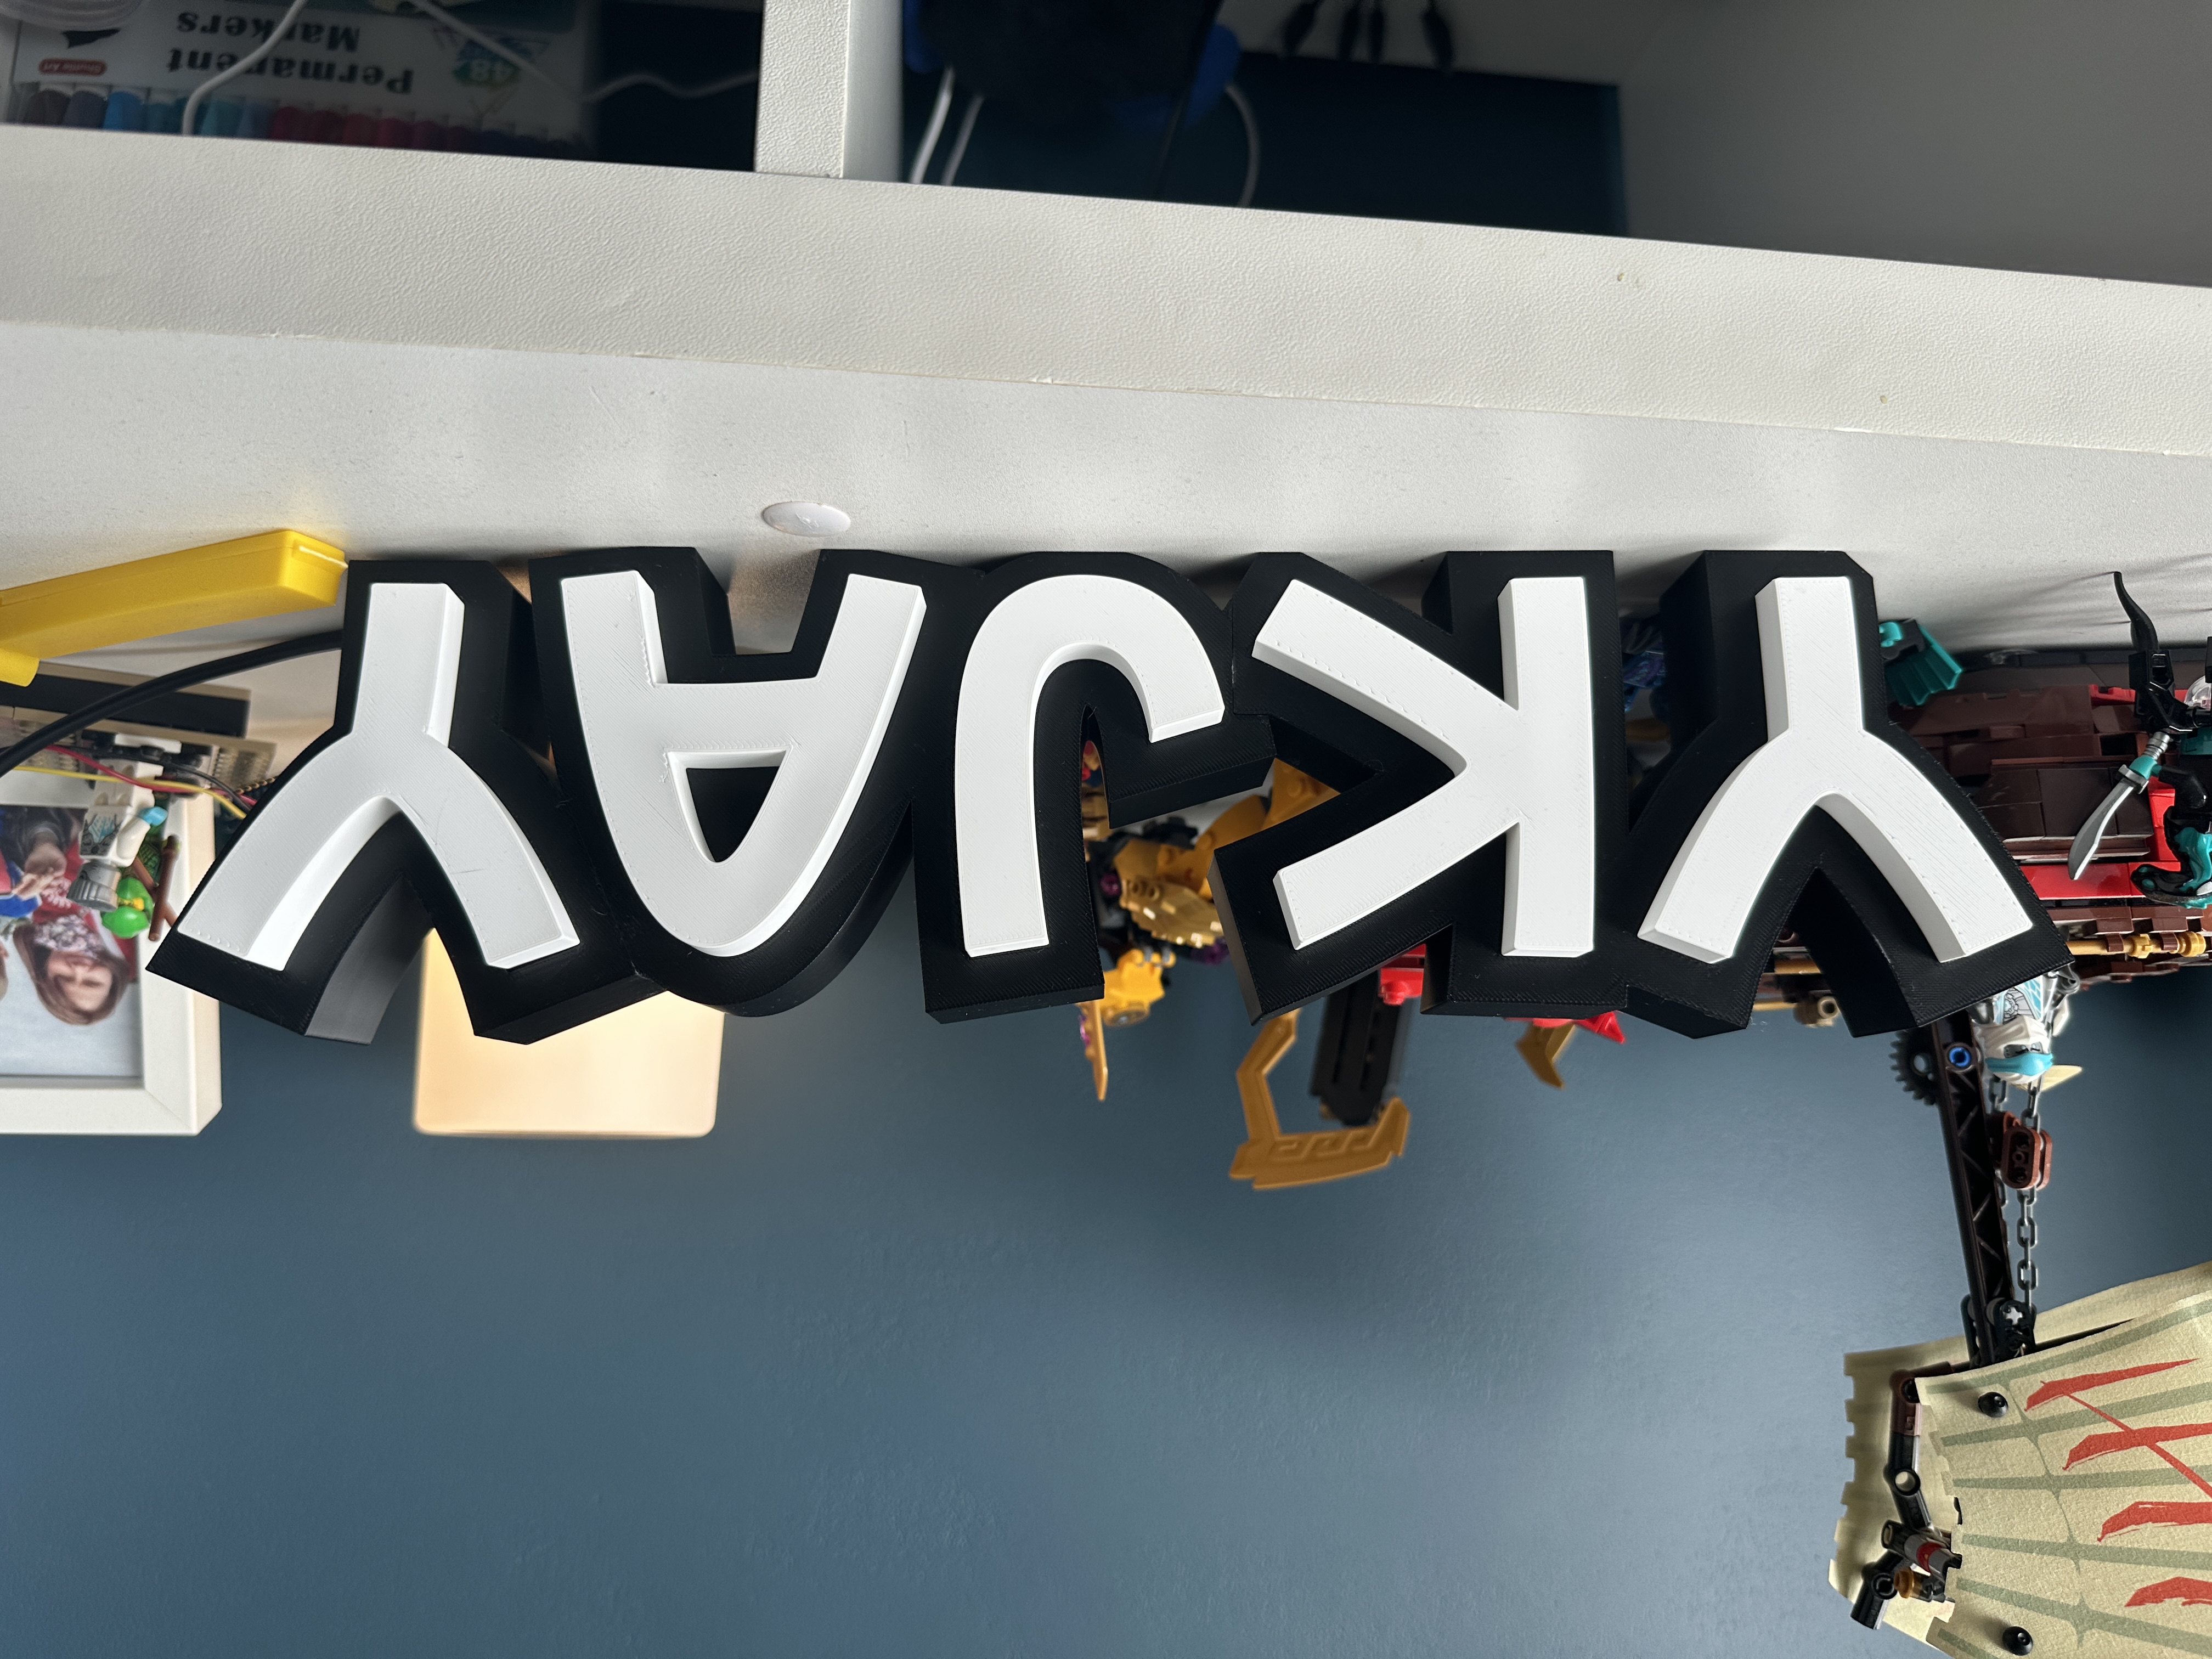
I sliced the model in Bambu Studio and printed it on my Bambu Labs P2S using white PLA for the diffuser and black PLA for the body.
WLED Set up
As I already use Home Assistant for various smart home integrations, I decided to use WLED installed onto a Wemos D1 Mini. I probably should have gone with an ESP32 mini of some kind as I later realised that the ESP8266 is gradually being phased out, although WLED still currently supports them.

I chose WLED because it’s free, works brilliantly with Home Assistant, and lets you control colours, brightness and animations without writing any code.
So, I installed the integration into Home Assistant, plugged my D1 Mini into my Mac using its USB Micro-B then went over to the WLED Web Installer page selected “Install” and chose my USB serial device in the pop-up window.
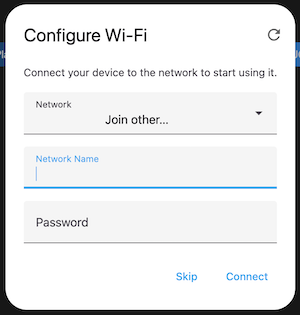
Once installed, you will be asked to configure your WiFi settings.
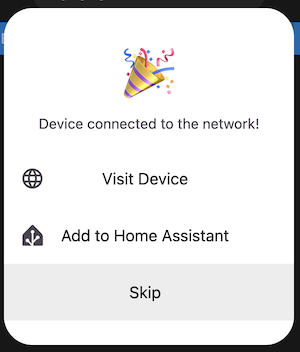
You will then be able to access the device on your local network.
Wiring it all up
I had purchased a 5m LED strip that has 60 addressable LED’s per metre as recommended in the tutorial video and glad I did as it diffuses the light better through the white cover letters. Due to the LED’s being addressable they have a data pin on the strip as well as a 5v and ground (GND) connection.
I had some 3 core wire, so soldered this onto the LED strip, then soldered it to the D1 Mini using the 5v, GND & GPIO D1 pin for the data.
USB
│
D1 Mini
├──5V────LED +
├──GND───LED -
└──D1────DIN
I didn’t require a power supply as I could power the sign using a USB-A to USB Micro-B.
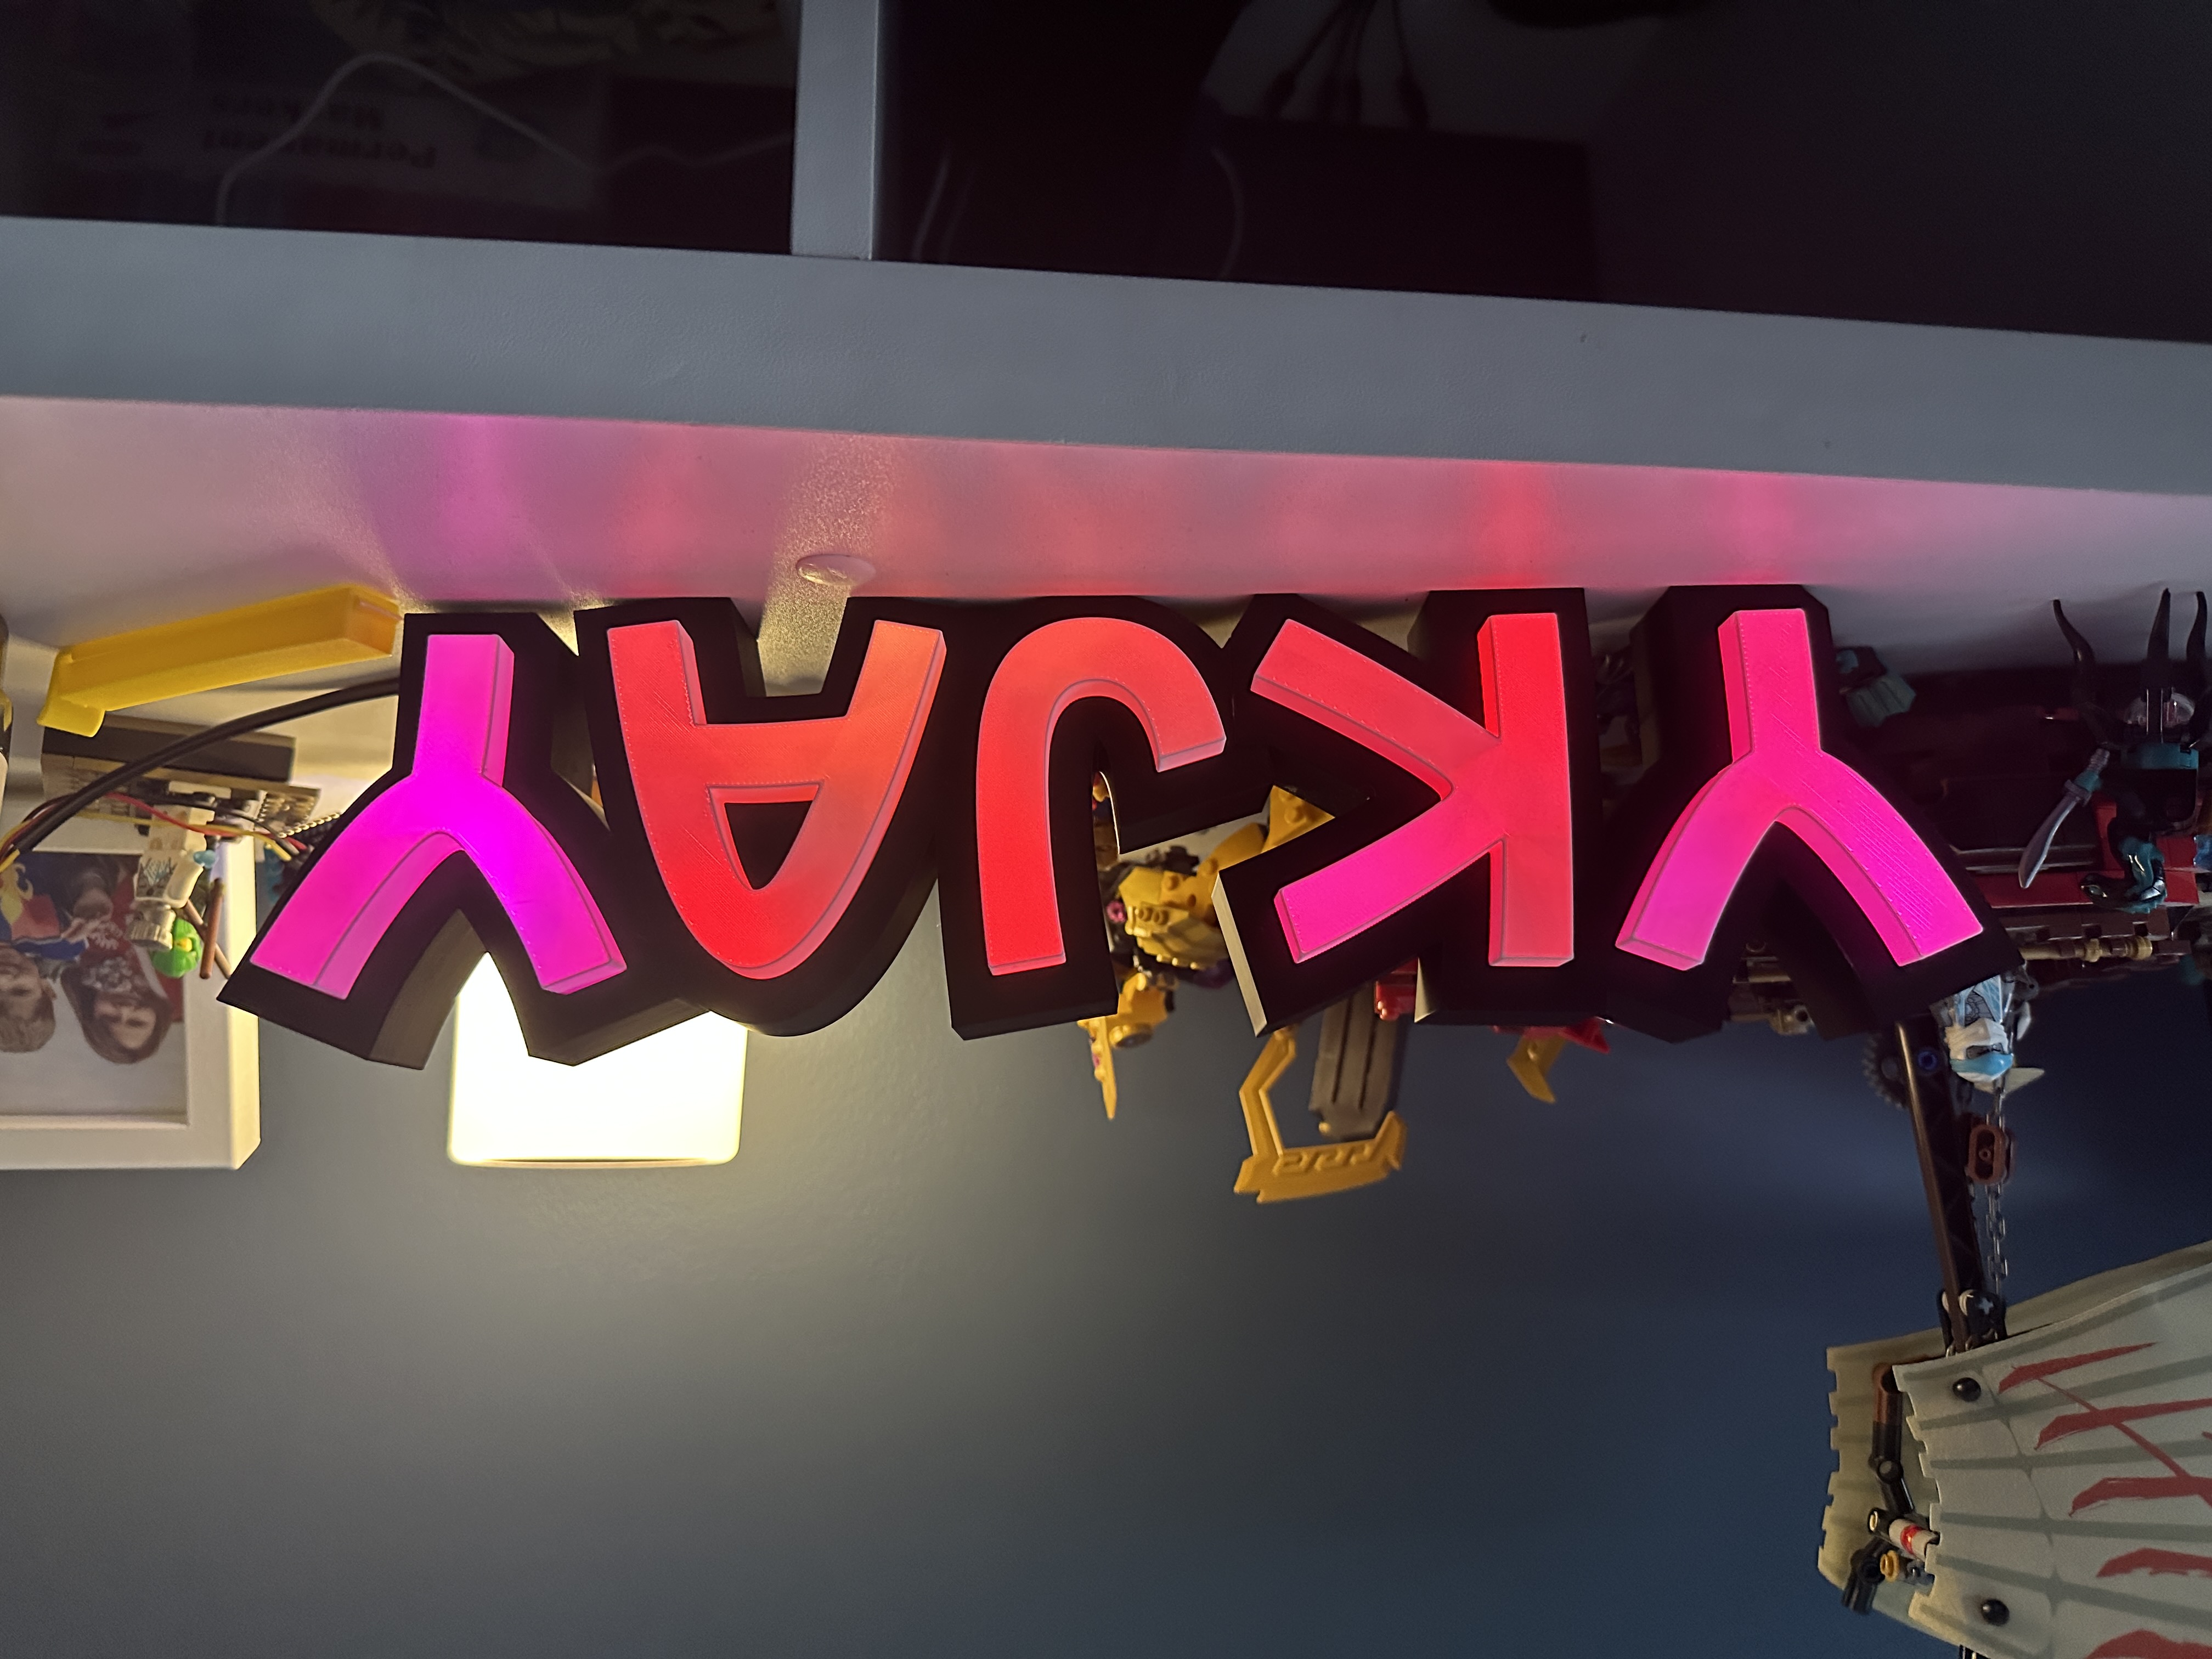
Finished result
Overall I’m really pleased with how it turned out. Fusion 360 definitely has a steep learning curve, but working through this project taught me more than any beginner tutorial I’d watched previously. I can already think of a few improvements for the next one, including using an ESP32 and experimenting with different fonts and lighting effects.
(3.4MB)